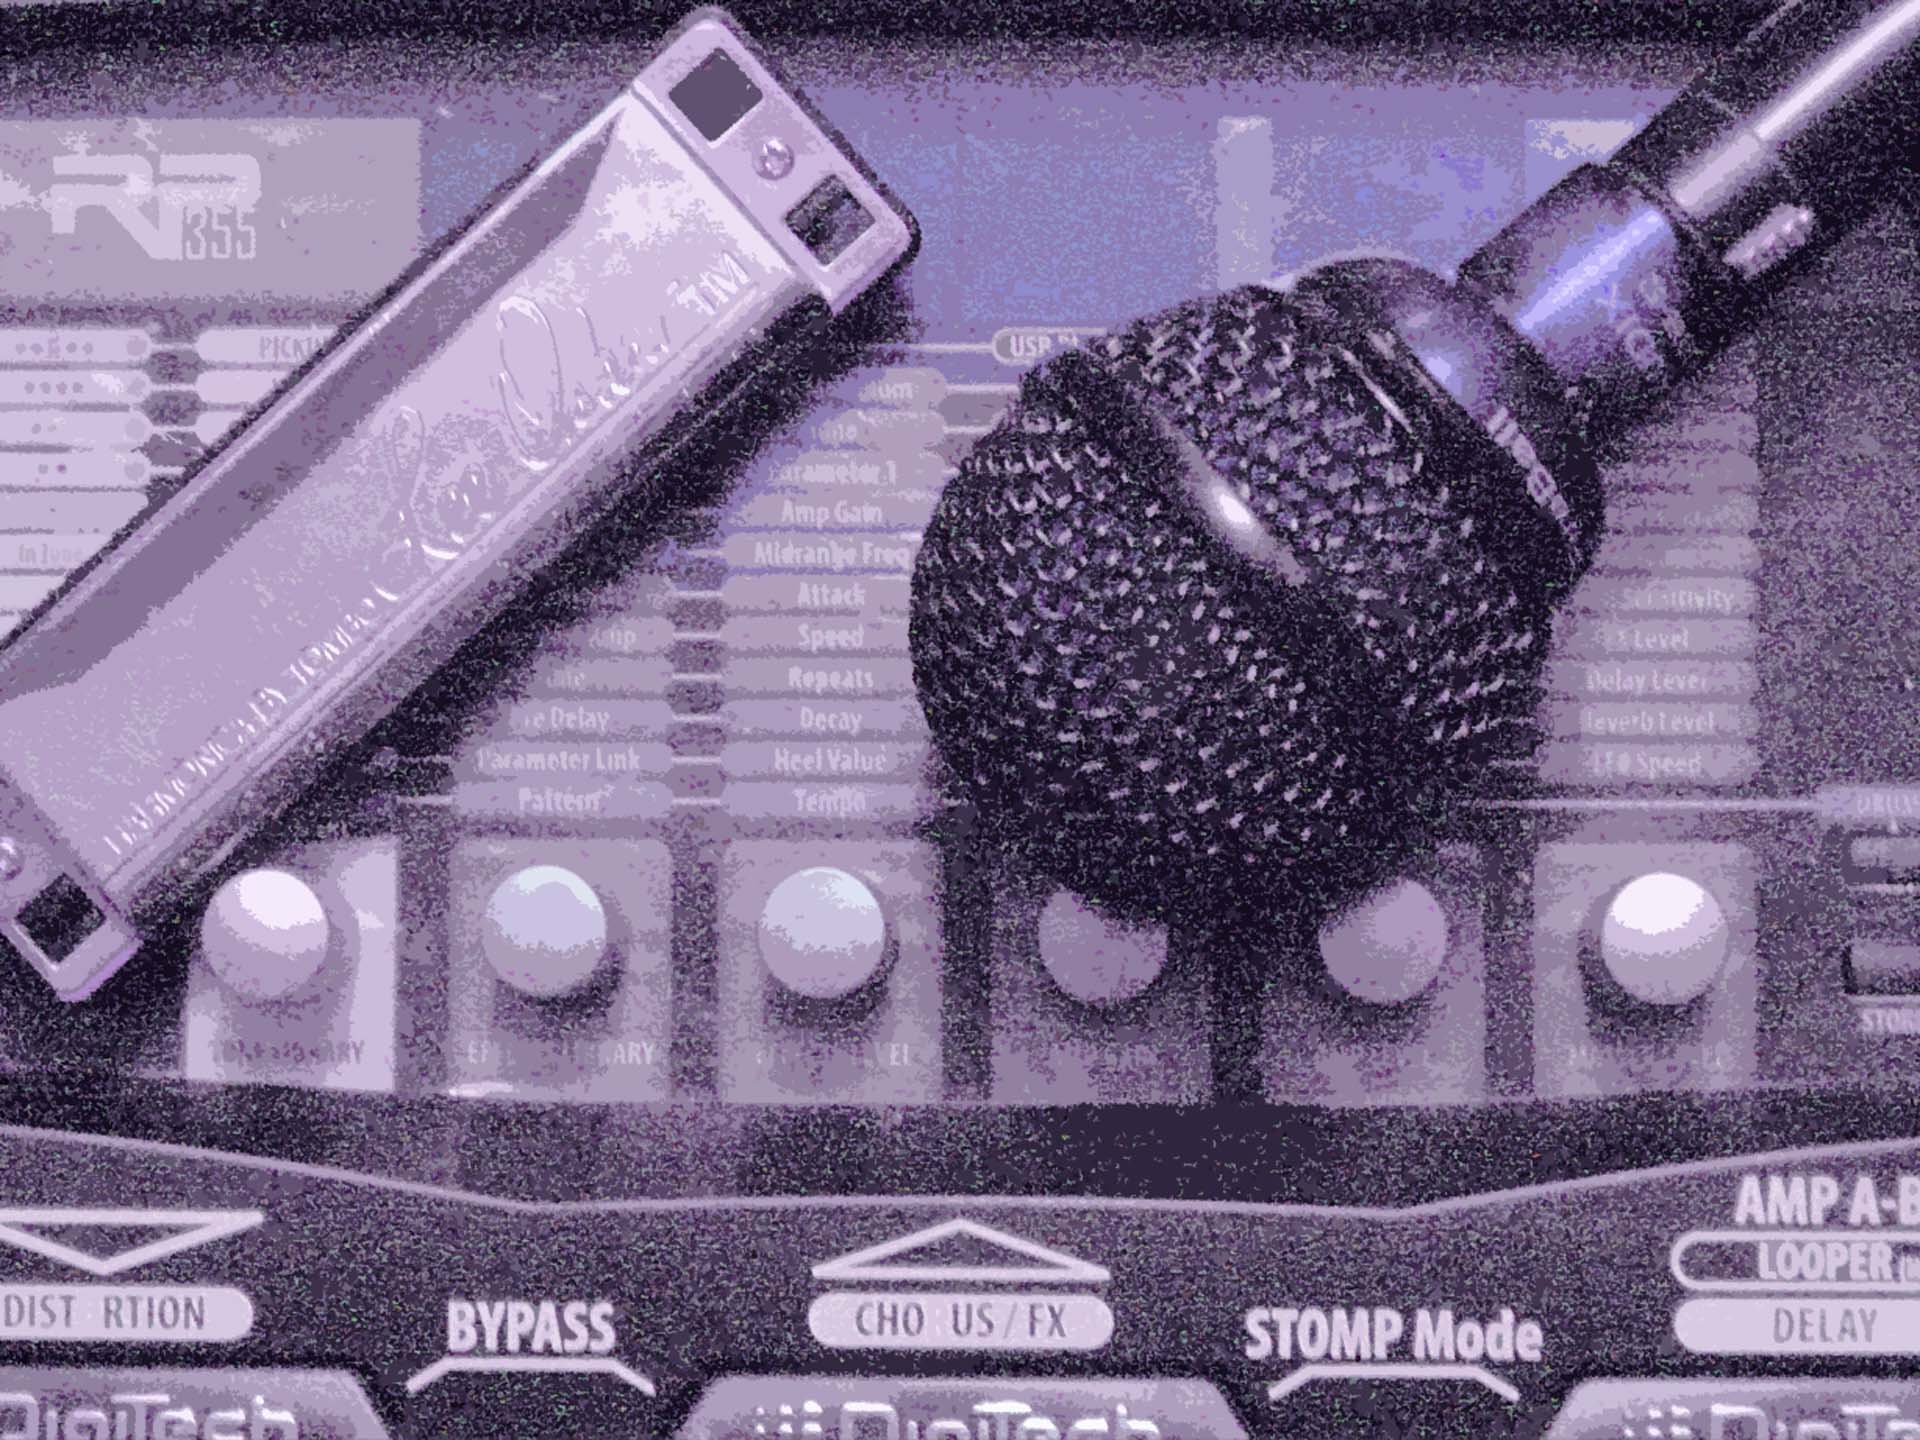
How to Set Your RP Up for Multi-Layered Looping
Now that the Huntersounds v17 Patchset for Digitech RP500 is shipping, I’ve started configuring my RP500 for live performance, which means adding in patches that are song-specific and setting up the sequences of patches that I use in my looped performances. Every looped song is supported by two to three patches, sometimes four, and they all have to work together in the mix, which isn’t a given. I don’t necessarily design patches out of the box to have compatible EQ and FX, and if that stuff clashes for any reason it can make a multi-layer loop sound like any of a hundred different kinds of bad.
So here are my steps for creating collections of patches that work well together in a multi-layer loop. I’ve framed the discussion in terms of my Digitech RP500, but the same basic steps apply to any Digitech RP (or any other amp modeler, for that matter) that you want to use for looping.
I keep the standard Huntersounds RP500 v17 patch set in user patch locations 1-50, so I’ve always got the basic materials in the box. Taking those materials and making them song-specific means:
1) Putting the patches in the right order on the RP500. I want the patches laid out side by side in the order I’m going to use them on a song. I generally work in pedalboard mode now, so that means the next patch I’m going to use has to be immediately to the left or right of the one I’m currently using. This is easy to set up with Xedit, possible but harder from the RP500’s front panel. I generally set my song-specific patch sequences up beginning with user patch #51, which gives me a total of 50 user locations to work with; at 3 patches per song, that’s enough for 16-17 songs in total, which is plenty.
2) Deciding which frequency ranges the patches will occupy. When I design a patch to be used by itself, I set the EQ up differently than when I know I’ll use it in a looped sequence. By itself, I want a patch to be big and bold; in a looped sequence, maybe not so much, because with another few layers in the mix that big, bold sound may smother everything else, or reinforce a frequency band that’s already overloaded. When I know which patches I’m planning to use, I sculpt their individuals EQs to make sure they’re not colliding. For example, I take out everything above 2000 hZ for the bass, and everything below 100 hZ on everything else; I might take an organ sound and scoop out the midrange frequencies to leave room for a chunky midrange autowah part. (This is all easier and more precise on the RP500, where you have a nice parametric EQ that allows you to specify Q (band width) and center point for low, midrange, and high EQ in addition to a separate EQ that’s based on the EQ for the selected amp model.)
3) Setting the volume levels. Everything in a looped arrangement can’t be as loud as everything else. I like the bass line strong because it’s usually the first thing to go down, and the thing every other part follows, so I want to make sure it’s loud and clear. An organ or vibrato patch might be next, and I’ll make that a bit less loud than the amped-up lead patch that follows. I generally use the Amp Volume setting in the patch itself to set these levels, as opposed to setting the relative overall patch level in Xedit, but either works. I prefer the former because I can get at it from the RP500’s front panel if I need to. In fact, the RP500 has dedicated real-time control knobs for amp level and amp gain, so you can really do a lot with the basic amp tone in real time, if you’re willing to bend over to move the knobs.
4) Setting the reverb, delay, and FX levels. Reverb and delay add a feeling of distance from a sound source, and a sense of the size and shape of the room the source is sounding in. I generally want little or none of either on the bass line, plenty of reverb on whatever’s going to play the main rhythm part (to push it into the background a bit), and less reverb (and possibly more delay) on whatever’s going to play the lead line (to make it fit into the “room”, but not be buried in it). I often use a prominent slapback delay on the lead voice to make it sound bigger, but I try to be careful with the reverb, which can push the harp too far away from the listener if you’re not careful, especially when there’s a lot of other stuff going on. A big reverb or delay can make you sound huge, but it can also make you sound like you’re at the other end of a very big space.
Where modulation FX are concerned, especially time-based FX like chorus and flange, I try to make sure that they aren’t making some other part of the loop sound weak or distorted, which can happen when time-based effects introduce comb-filtering into some part of the frequency spectrum.
That’s about what it takes to get the RP500 ready for performance. When it’s done your whole show is right there at your feet, ready to rock, and you know it’s going to sound amazing every time. I really enjoy having that kind of power available to me onstage in a compact package with a lot of real-time controls. When I think of what I went through in my 20s and 30s to reliably get decent sounds from my gear, I cringe. Now it all just works and sounds great. Wow.
2 Comments
Leave a Reply
You must be logged in to post a comment.
Hi Richard
I could have an old Leslie Box with mechanical Leslie Rotation Effect. (1969?? or so.)
Do you think, that this could work for harp together with ther RP500 V17 Patches?
Regards
drstrange
Yes, it will certainly work. However, I would look to see if you have a full-stop option on the Leslie (sometimes called a “brake”). You don’t want that rotating speaker sound all the time.